|
Time done: 30 months
Time left in lab: 9 months Time to write up: 9 months Mood: wildly bouncing from euphoria to depression So I thought I would do a quick update on how my PhD is going since it’s been a while. I am officially ok with my hypothesis! Before Christmas was the hardest my whole PhD has been. I had spent a year analysing and testing my Illumina MethylationEPIC array (which looks at over 850,000 CpG sites across the genome - not that many considering how many there actually are). I found sites that had significant increases and decreases in methylation when I treat with my drug, spent months validating them using pyrosequencing and what did I find? Nothing. It didn’t validate. It was soul crushing. Buuuut I bounced back. Had a massive rethink with James (my supervisor). We thought about what my drug theoretically does and how that could affect epigenetics and I came up with a new, testable hypothesis. We were assuming my drug does a very specific thing that can be reproduced over and over (eg it always causes the same change in DNA methylation in the same place regardless of what cell line I use or how many times I test it). But maybe it’s not so specific but a bit more random, which is totally fine! This new direction also means my Illumina MethylationEPIC array analysis wasn’t a waste of time. Celebrations all around! And it seems to be going well so far. Well except that I have been troubleshooting the same western blot for nearly three months (and beating my head against a wall. Chairs may have nearly been flung through windows). There has been some tears not gonna lie. It’s hard to do the same 2-4 day experiment over and over to prove the result you got in the first place (in bloody January) was correct all along. Science - when you know you’re right but you have to show all the wrong ways to do it to prove you’re right! So what’s the plan now? Well I am going to the American Association for Cancer Research (AACR) Conference 2018 Chicago in April (there will be many vlogs, blogs etc) to present what I’ve found so far! Absolutely terrifying since I’ve only started to believe in my results like....last week. I have about 9 months left of work in the lab before I need to write it all as a thesis. That will consist of learning a few new techniques (RNA-seq, ChIP-PCR) and to get a bit more of an idea of what’s going on and how I can sum this all up in a pretty bow. I’m also getting another masters student to supervise (YAY) which I’m very excited about because I really like the project I wrote and the results regardless of what comes out are gonna be very interesting. She’s starting at the start of May and finishing up in September. I need to write some papers! I apparently have to publish my data (who knew) so the next six months will be writing up what I've done so far in a paper, getting it peer reviewed by people in my group so I can find any holes and plug them before December. I can then sent the actual papers off for real peer review and (hopefully) publication. And that's it. Sounds simple enough but it's taken 7.30am starts working 5-7 days a week to sum up everything I've done since August in a few paragraphs. I've even started drinking coffee in work. I shake violently when I drink coffee. It's not a good idea. I have one last thing to say to anyone thinking of doing a PhD, to people currently doing PhDs or anyone living with a person doing a PhD: To the person thinking of doing a PhD: be prepared. I want to scream at you "DON'T DO IT, IT'LL RUIN YOUR LIFE" but I won't. We need more researchers so we need more PhDs. But I will say be prepared. It is not all rainbows and unicorns. It's hard and it will drain the soul out of you. But then you'll get a result and feel like the smartest person in the world. You will love and hate the 3-4 years of your life doing a PhD. But really...be prepared to hate it a lot more of that time than you think. To the person currently doing their PhD: you are a god damn hero. Keep going. You may feel like you're drowning or that "maybe a masters for this isn't so bad, I should give up". DON'T. You have given your blood, sweat and tears to this thing. You are going to finish. Even if I have to carry you. But seriously. You have got this. You are smarter than you know, you are incredibly dedicated and you will finish. No one knows what doing a PhD feels like until they have done one. No ones knows the soul crushing pain. I know. And I know you have got this. To the person living with a PhD: please be patient. I know you don't understand what they're doing. I know you don't get why a little comma could cause a massive mental breakdown, the consumption of ALL of the ice cream and you getting shouted at but trust me there's a reason. It's hours, weeks, months or years worth of work that your loved one has just watched go down the drain (this specific example is for programmers but is applicable to all types of PhD). Just keep supporting and loving and caring for the lunatic PhD because they need it. And thank you for being there. Your presence means more than you will ever know. PS: I know I haven't been posting a lot. I do apologise but every second of my waking life is going into completing my AACR poster so bear with me. 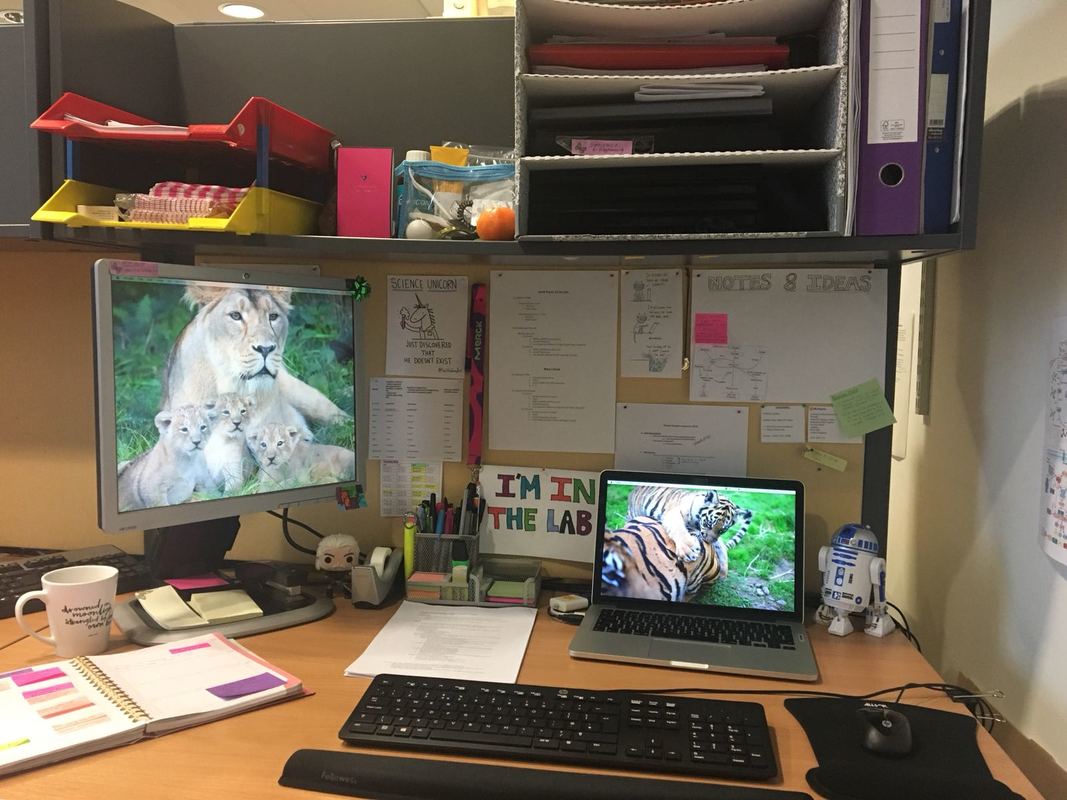
PPS: Apparently I have a very neat desk in my office and all other desks should aspire to look like mine......Weird email sent around the office!? So.....don't get too jealous everyone...
Cute animal photos keeping me sane are courtesy of the wonderful Fota Wildlife Park Ranger (Liam) supporting this lunatic PhD (me).
6 Comments
 This is going to be a long and technical one sorry. This month I want to talk about an experiment I've done pretty much every day for the last three months (plus continuously over the last 2.5 years) - Western Blot. Western blots are used to visualise and identify individual proteins. In this technique you have a solution (called a lysate) filled with the majority of proteins from cells. This technique separates these proteins out by size and allows you to stain for specific proteins you want (more on this later). This is the standard way to visualise proteins but it is very subjective and is tricky to perfect (I hope you will appreciate why after reading this). The proteins are visualised by staining them with antibodies specific to that protein and then using a chemical reaction to produce light which can be picked up by a machine. The resulting image is of black bands. The intensity of the black band determines the approximate level of protein present. There are a few steps to Western Blotting which I will go through. The whole technique can take 1-3 days depending on what proteins you are looking for and what you choose to do in each step. Steps to Western Blotting:
A little bit of terminology before we begin:
STEP 1: Preparation Reagents and Buffers Before you begin a western you need to make sure you have all your reagents prepared. I will NOT be going through this, all I will say is you need reagents for
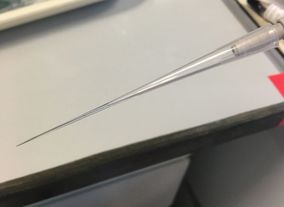
Protein Preparation: When you extract your protein from your cells you end up with a protein lysate. This contains the majority of the proteins in your cells. You don't know what the concentration of the total protein is but you are sure that each sample doesn't contain the same concentration. This is due to how well the extraction went in each individual sample but also how many cells there is to extract protein from. There are a few ways of finding out the concentration of your protein which I won't go through (I use the Bradford Assay from BioRad). What you do need to know is that for each sample you need to make up a solution of protein, water and loading buffer to load onto your gel. You can use as much or as little protein as you want, I typically use 10-15ug per well. I load 20ul per well so I need:
There are many types of loading buffer, I use Laemmli buffer. The loading buffer has a couple of functions. You are using an electric current to make the proteins travel through the gel. Proteins are all different charges so the buffer makes sure all the proteins have the same charge (negative) - this is done by a chemical called SDS. Proteins are globular structures. These don't run though a gel very well so you need to unravel the proteins into single strands (called denaturation). The buffer will start this process - a chemical called β-mercaptoethanol breaks disulphide bonds. The loading buffer also has a dye in it. This is called the "loading front" which runs faster than your proteins. This allows you to track how far your proteins have travelled through the gel (image later).
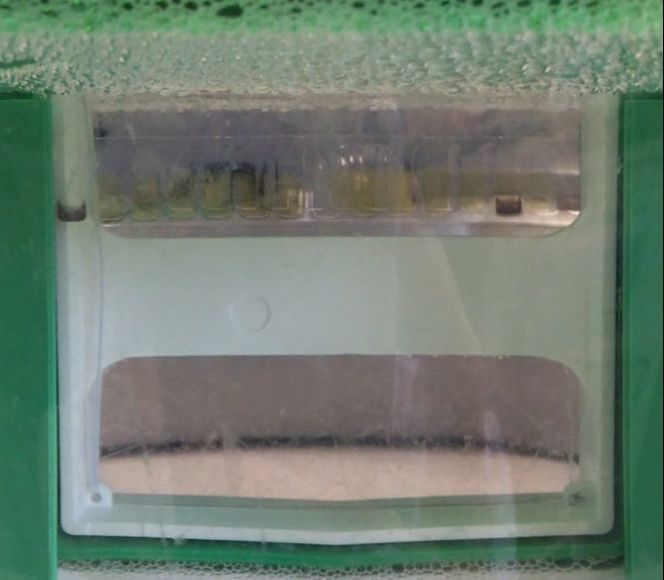
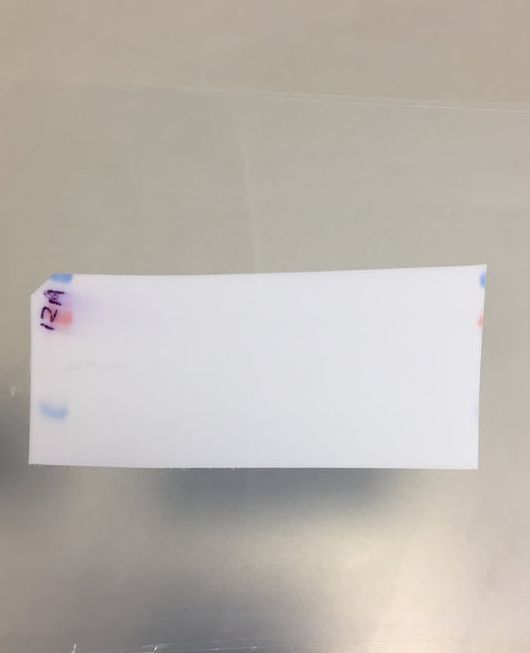
A quick note - usually the protein samples you have prepared will be blue once you add the loading buffer and boil it. This is because the dye in the loading buffer is blue. However, the protein I will show in this post will be yellow. This is because I extracted the proteins using acid and the acid in the lysate turns the buffer yellow. Once the gel starts running the dye front goes back to blue.
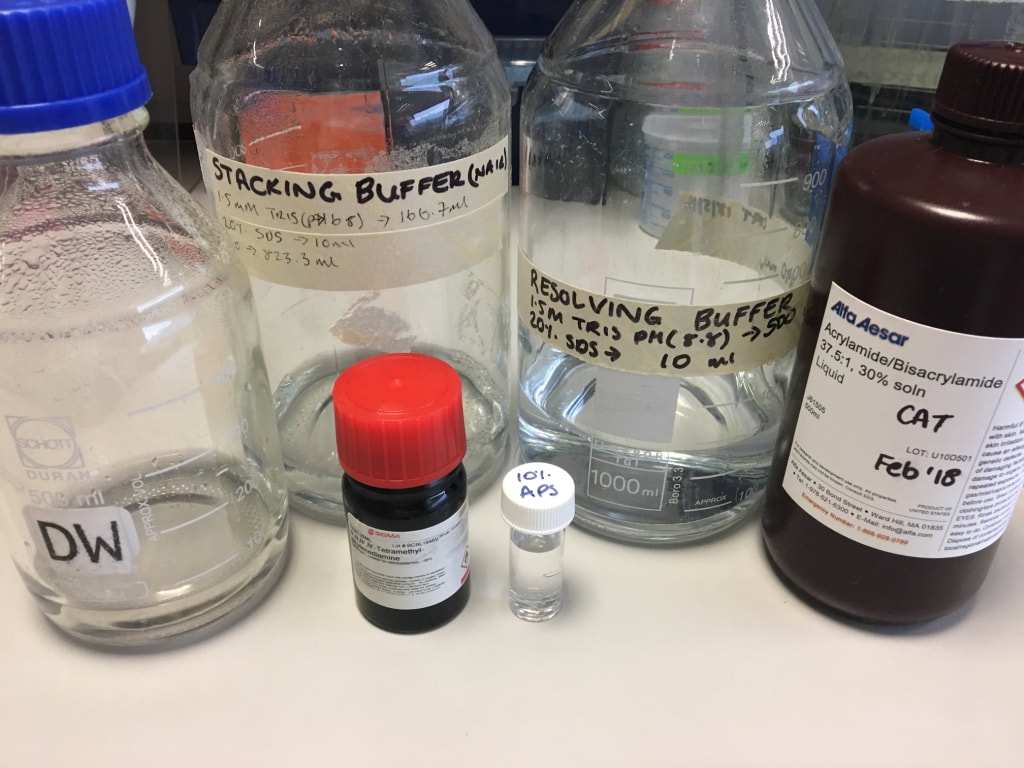
Gels are made up of:
The acrylamide will set into a gel which has pores in it. The protein will travel through these pores. The percentage of acrylamide used determines how big these pores are. Large proteins run slowly through a gel whereas smaller proteins will run very quickly through the gel. A lower percentage gel (e.g. 7%) will have large pores, allowing larger proteins to run faster through the gel. However you are likely to lose all the smallest proteins. A higher percentage gel (e.g. 12.5%) will have very small pores which slow down the small proteins, allowing you to visualise them easier. However all your largest proteins might not run as they can't past through the pores. There are two types of gels used in gel electrophoresis - a stacking gel and a resolving gel. They're pretty much made up of the same ingredients (a stacking gel is slightly more acidic pH 6.8).
Steps to making a gel:
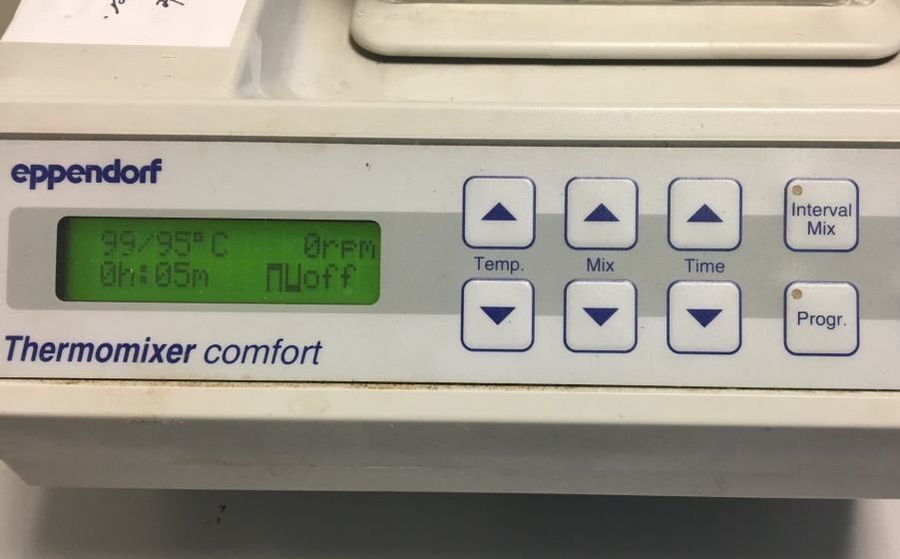
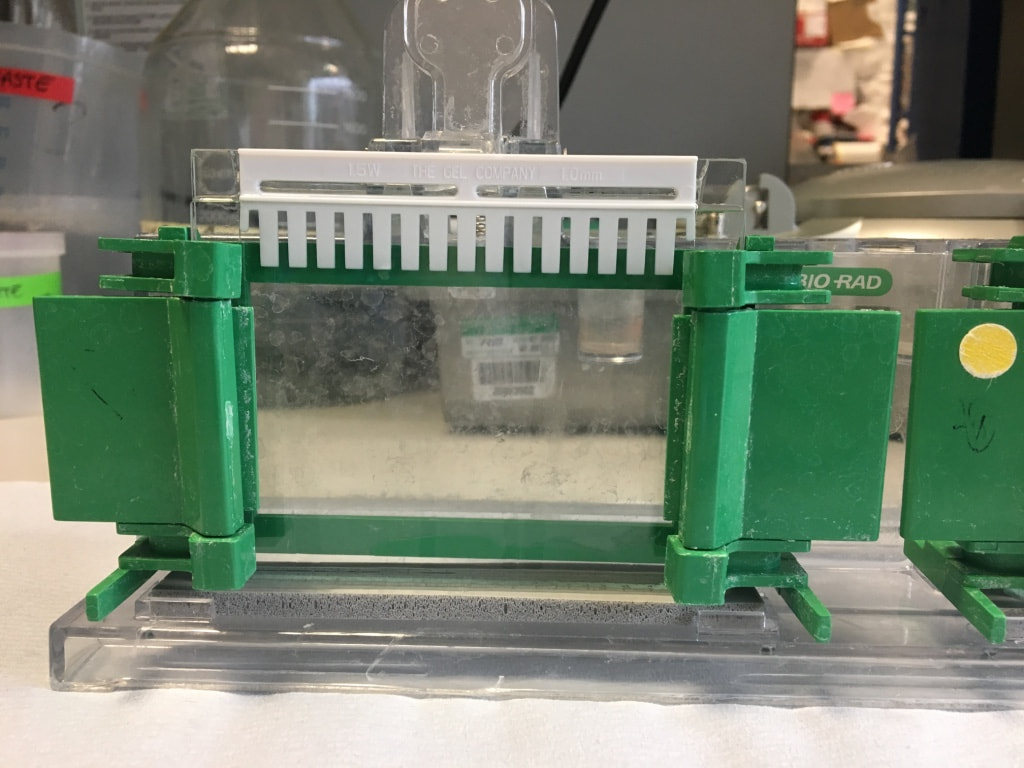
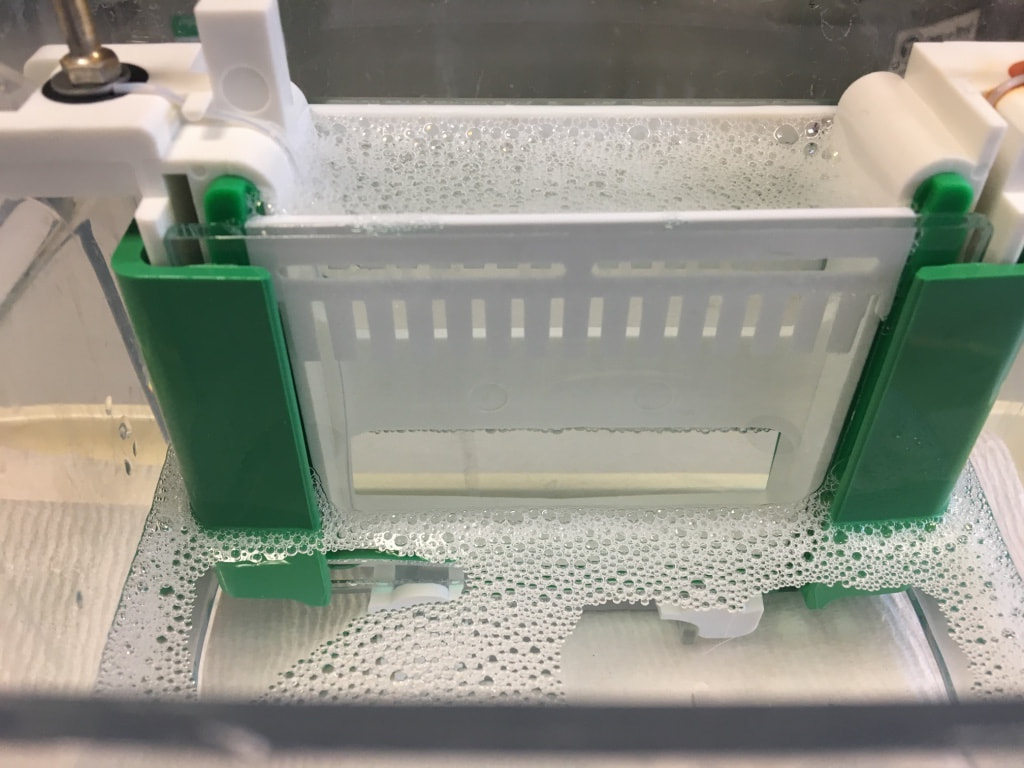
I have made up a 12.5% gel for this example to run histone proteins which are approx 15-17kDa in size. I will also stain for a loading control, beta actin, which is 45kDa in size. STEP 2: Loading and running SDS-PAGE Gel Electrophoresis The next step is to load your prepared protein into the wells in your stacking gel and running an electric current through the gel to allow the proteins to travel from negative to positive. The gel(s) are clamped into an electrode chamber and placed in a running tank. The centre is filled with running buffer. The running buffer allows an efficient flow of electrical current to pass through the gels. It also prevents the gels from drying out which you do not want.
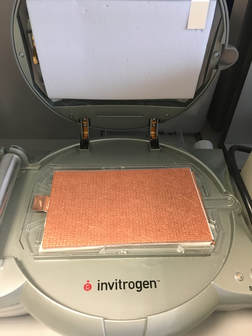
STEP 3: Transferring proteins from gel to PVDF membrane Once the gel has run enough you can stop it. This depends on how long you want to wait for and what proteins you're looking for. My proteins are very small (17kDa) so I can stop my gel once I see the 17kDa ladder band is far enough from the loading front. The next step is to transfer the proteins from the gel onto a membrane. You cannot stain for your proteins on the gel as it is far to delicate and not permeable - the protein only runs through the gel because we created the wells. The membrane is more permeable and allows you to stain for proteins. There are a couple of (messy and time consuming) ways to transfer proteins but I prefer to use the iBlot dry technique. This basically transfers the proteins using a machine in 5 minutes (compared to 1-2 hours). The transfer stack consists of:
Again an electric current is used to push the proteins through the gel into the membrane. However the voltage is very low. As we know, small proteins move very quickly. The low voltage prevents the small proteins from passing straight through the membrane. So how does it work:
 Image of how you set up before transfer
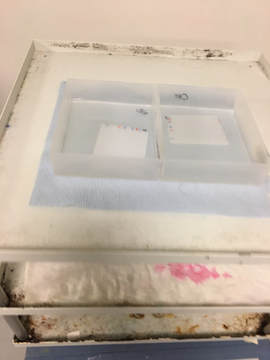
After the transfer is complete you need to be VERY fast. You have to quickly remove the stack from the machine, get the membrane out of the stack and place it in TBST. The membrane CANNOT dry out or else all is lost. You can check your transfer at this stage using Ponceau red, which is a red dye that shows up all the wells and bands of proteins but I did not do that today. STEP 4: Blocking The next step is to block any unspecific binding. The antibodies are usually polyclonal - meaning they can bind to other proteins that aren't your protein of interest. To prevent this and also to get a nice clean image at the end, you block unspecific binding. You can block using either of these two reagents:
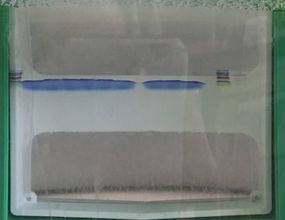
The reagent you are using depends on the antibodies and proteins you are looking for. I block in 5% BSA/TBST/NaN3. Before I block I cut my membrane so that I have the two individual gels again. You don't have to do this but I like to. At this point I just cut the excess off using the ladders as a guide. I then mark with a pen on the ladder what gel it is. The membranes are blocked for 1 hour at room temperature on a rocker. This is now when we can call out membrane a blot. After blocking you can cut your blots to stain for multiple proteins. In this case I cut at 36kDa band (blue band above the bottom red band on the ladder) to stain for my histone proteins and also my beta actin loading control.
STEP 5: Antibody Staining of Proteins This technique as I said uses antibodies which bind to specific proteins and you can them visualise these antibodies using a chemical reaction. The figure below gives a rough idea of how the technique works.
The antibodies are created in different animal models (please don't ask how cause I have no idea). So if your primary antibody is developed in a rabbit then the secondary antibody will be goat anti-rabbit (i.e an antibody developed in a goat to bind specifically to rabbit-developed antibodies). There are some human antibodies but they're incredibly expensive. The primary antibodies are made up in the buffer recommended by the manufacturer usually 5% BSA/TBST/NaN3. The recommended concentration is usually given by the manufacturer - typically 1:1000 or 1:2000 (i.e. 1ul antibody in 1ml solvent). The secondary antibodies are made up in usually either 5% BSA/TBST or 5% Milk/TBST. The BSA doesn't contain NaN3 in the secondary because sodium azide (NaN3) inhibits the secondary antibody. The concentration of the secondary depends on how abundant the protein is and how long you develop it for. For example beta actin, which makes up part of the cytoskeleton of your cells, is an incredibly abundant protein so the secondary concentration is 1:50,000 BUT another protein I look at p-AMPK is not so abundant and the secondary concentration could be as low as 1:1000. 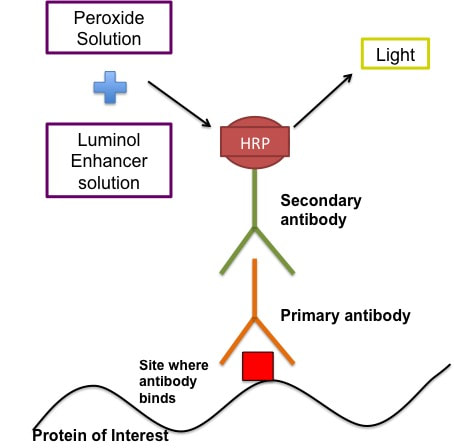 Diagram of antibody staining of proteins Part 1: Primary antibody incubation and washing
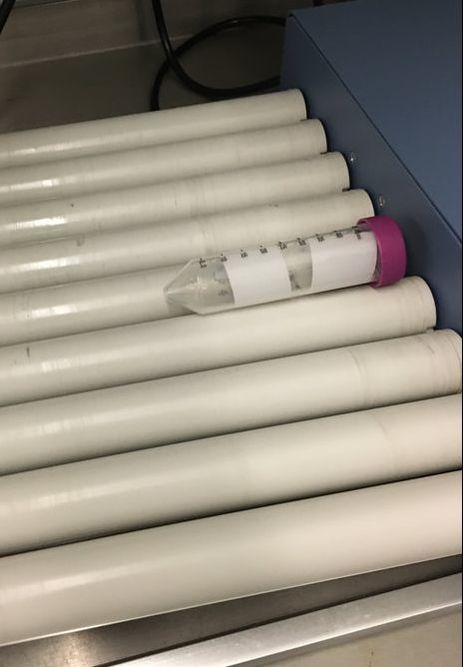
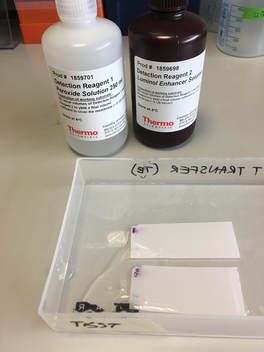
NOTE: for beta actin, you do a 1 hour incubation at room temperature Part 2: Secondary antibody incubation and washing For the secondary antibody you can do this at room temperature for 30 minutes - 1 hour, again on a roller. I make up most of my secondaries in 5% Milk/TBST, except p-AMPK. The casein in the milk removes phosphorylation from proteins so I would lose my p from the p-AMPK if I did the secondary in milk. So for p-AMPK and all phosphorylation proteins I use 5% BSA/TBST. Again after incubation in the secondary, the blot(s) need to be washed at least 6x5 minutes to remove excess secondary antibody. The washing part of the procedure is honestly the most time consuming and tedious. It's a lot of back and forth to and from my office desk to the rocker. I usually try to do something else in the lab to not waste the time but sometimes it can't be avoided. STEP 6: Developing The final step (thank god) is to develop your blot. This step adds the peroxide and luminol enhancer solutions (collectively known as ECL solutions) to the membranes. You then take the membranes to a chemiluminescence machine which will detect the light emitted and give you an image in return. Steps:
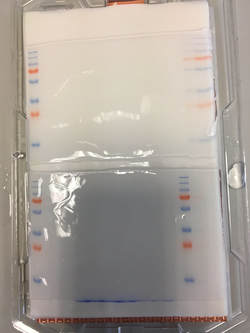
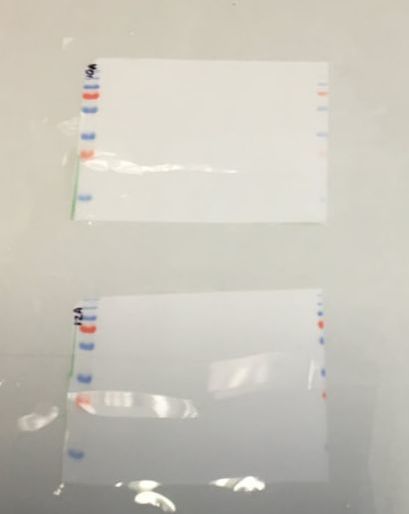
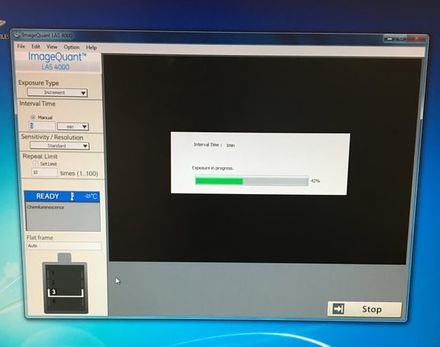 Image of the chemiluminescence machine You end up with a picture which has black bands. As I said at the start the intensity of the bands indicates how much protein is present - very dark means a lot, very light means very little and nothing means nothing.  Image of a beta actin western blot for MCF10A (lane 1-3) and MCF12A (lane 4-6). The image above shows the loading control (beta actin) for a blot I have done for two cell lines, MCF10A (lane 1-3) and MCF12A (lane 4-6). The bands are very dark indicating that the protein is very abundant. What's important is the bands are almost the exact same size and intensity as each other (different in the two cell lines) indicating that my loading was very even (wahey). Once the blot is developed you can keep it or you can throw it away. If you keep it and want to stain for another protein or the same protein but with a different secondary concentration you need to strip the blot (i.e. remove all antibodies bound to proteins), re-block using the same blocking buffer and re-incubate with the primary and secondary antibodies. A blot should only really be stripped twice. This will add another day onto your experiment (at least). And that is it. That is roughly how a western blot works. The reason why western blots are THE most hated laboratory experiment is because they rarely go the way you want them to, there is always a difference each time you do it and it takes FOREVER. If a western goes wrong most of the time you have no idea why. It can be anything from one specific buffer which was made up wrong to the wrong gel percentage, the wrong transfer time or transfer voltage etc. Basically everything you did could have an issue associated with it. Trust me I did troubleshooting for TWO MONTHS on one antibody. It eats away at your soul. Western blotting everyone. |
AuthorMy name is Caitriona and I am a PhD student at Imperial College London, UK. Categories
All
|